Add-ons // Xero
The Xero add-on has the following features:
Import Xero contacts as Timestamp Clients
Import Xero users as Timestamp Users
Create Invoices from Timestamp time entries and expenses
Enabling the Xero add-on
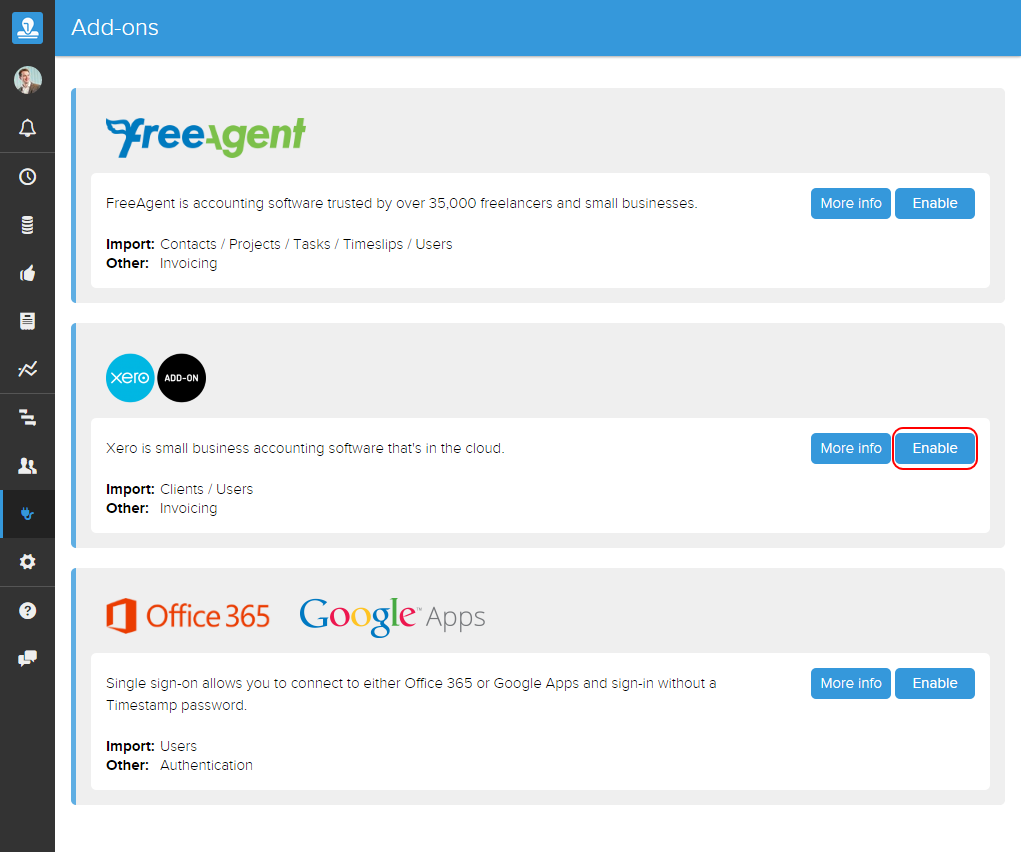
Navigate to: Add-ons
Find the Xero add-on and click: Enable
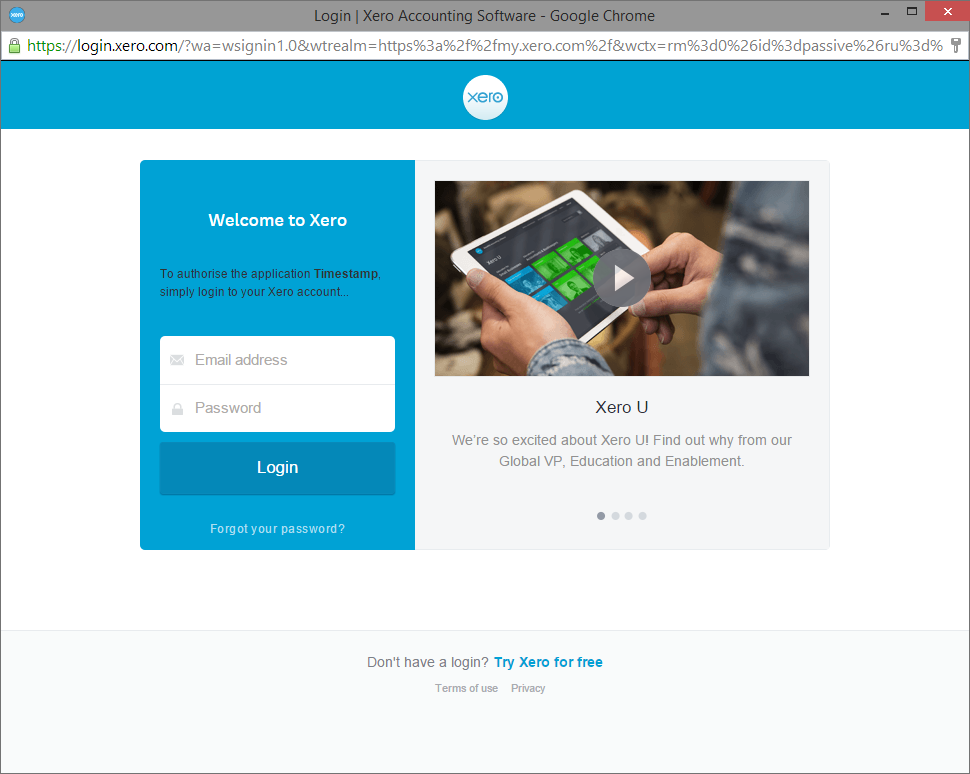
- The following pop-up should appear. Sign in to your Xero account:
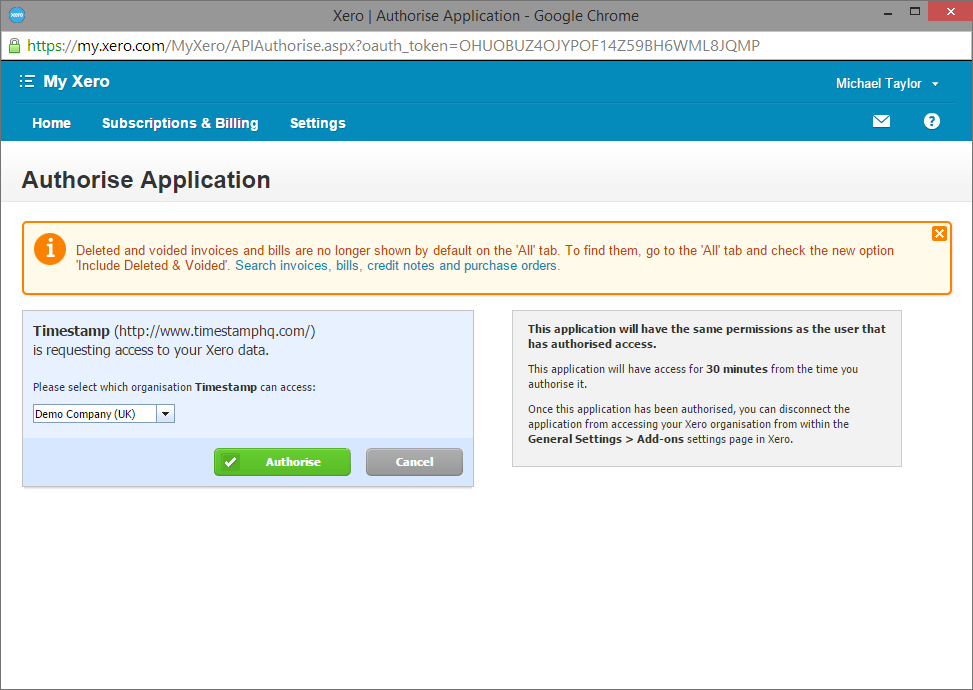
- You must now authorise the organisation you wish to use with Timestamp. A Timestamp account can only be associated with a single Xero organisation at any one time:
Setting up the Xero add-on
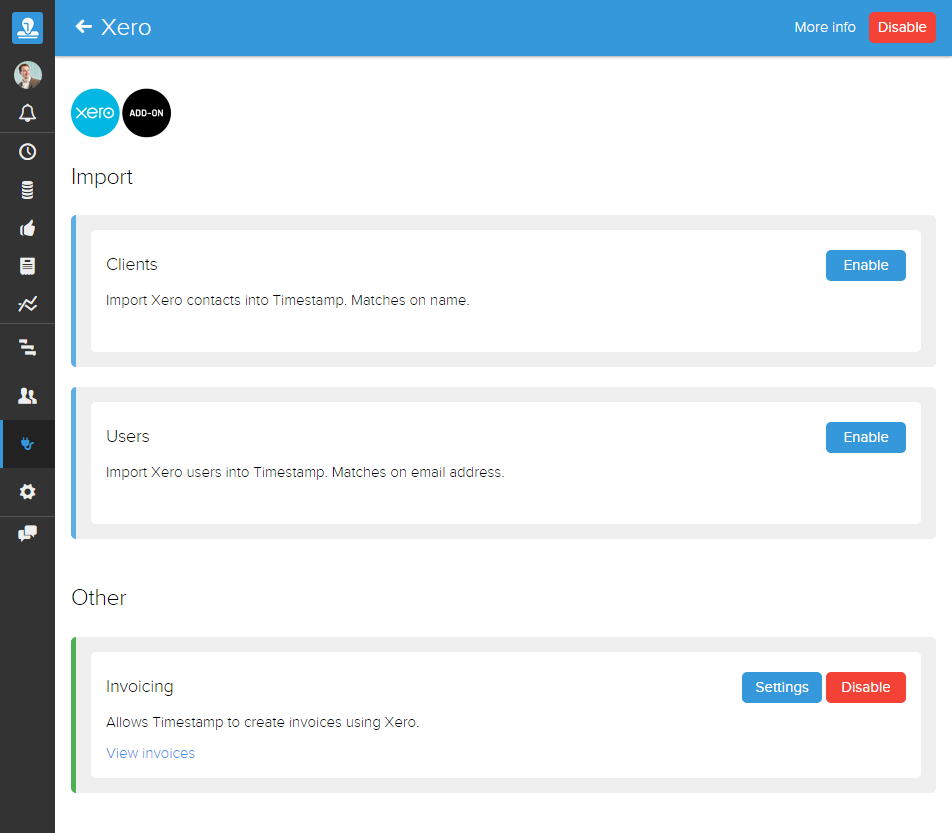
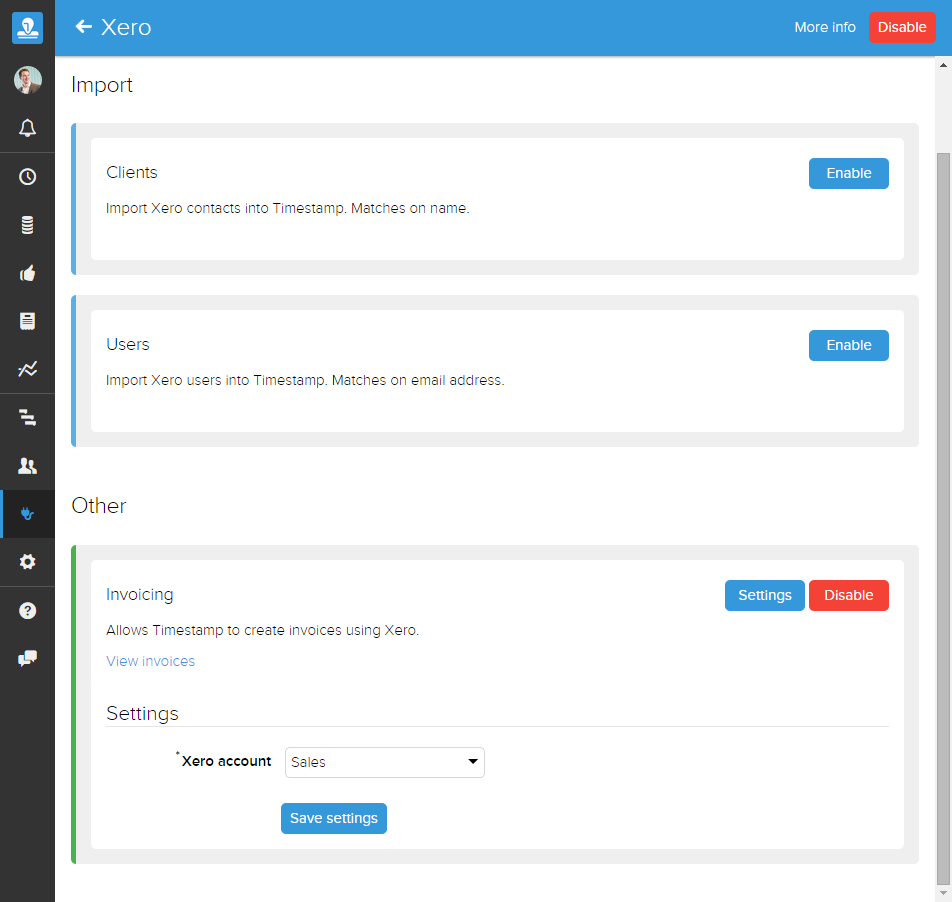
After authorising, you should be automatically re-directed to the Xero add-on settings screen within Timestamp. You should see the following:
- Clients - disabled by default
- Users - disabled by default
- Invoicing - enabled by default
Firstly, you will want to double check you Invoicing settings, and possibly change the Xero account for which invoices are created.
Invoicing settings: Add-ons > Xero > Invoicing > Settings > Xero account
This dropdown will only show Xero accounts of type SALES and REVENUE - if you don't see an account you expect then double check the type in Xero.
- Secondly, you will want to enable Clients import, as you can only invoice Clients imported from Xero, or Timestamp Projects created for those Clients. You can later disable Client import if you don't continuous import. For now simply click: Enable.
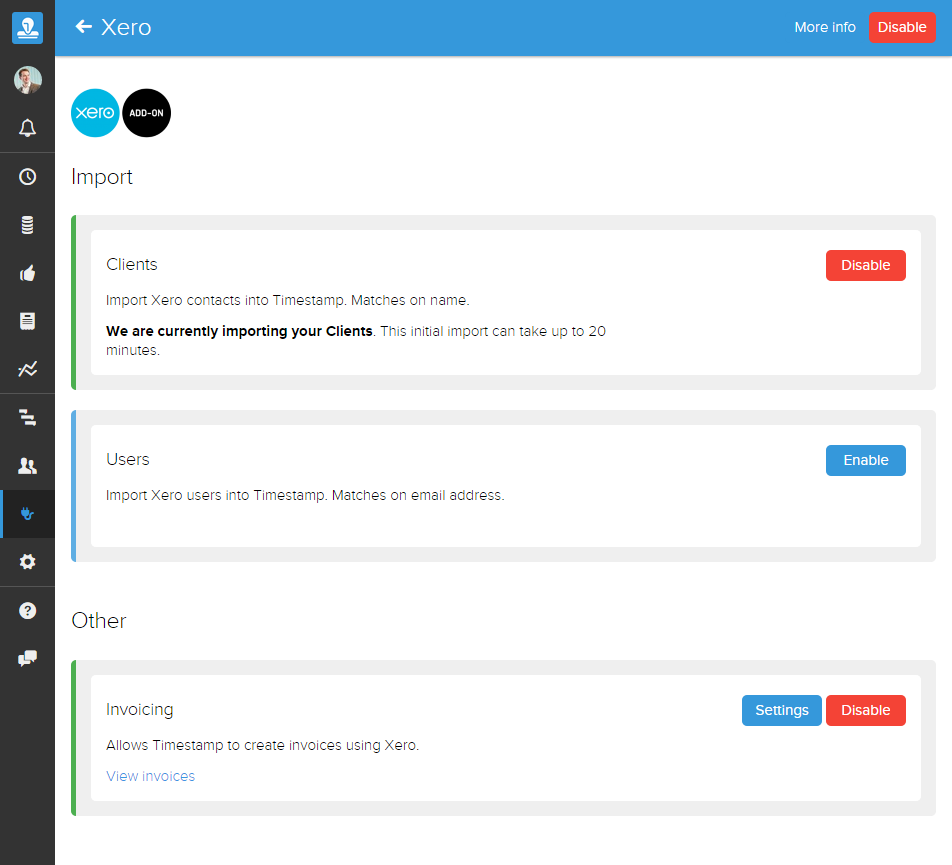
Initial import may take up to 20 minutes. Import will happen periodically until the feature, or add-on is disabled.
After import is successful, you will be able to create Xero Invoices from Timestamp.